The WIZinspect Advantage
- - Inline laser inspection on the production floor
- - Fast, accurate and repeatable measurement
- - Automatic part alignment done by software - No need for precision part position
- - Maximum flexibility in measurement program changes – Cylinder head geometry, alignment and measurement points location
- - Customized data analysis
- - Full range of feature recognition
- - Customized graphical and text report
- - User Friendly CAD based measurement program preparations
- - Standard Measurement equipment with full compliance to ISO 10360-8 standard
- - Fully advanced Automation, High quality equipment, standard PLC control, efficient conveyors and communication network
- - Simple interface to other production floor equipment and peripheral accessories – engraving, marking, stamping, data reading etc.
The Inline Systems Target
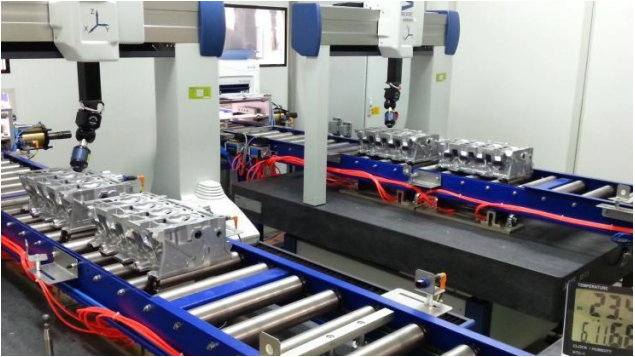
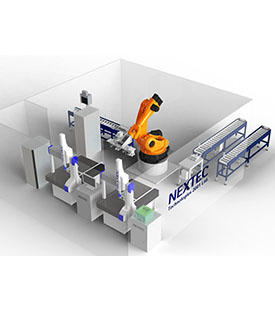
- - The proposed Nextec Inline system with full automation is composed of our Standard WIZinspect 1275 laser measuring machine with the conveyor system and cell automation system customized to specification and cycle time requirements.
- - The WIZinspect machine will have a double lifting and fixing device to measure 2 heads simultaneously in a single feed.
- - Above Cycle time includes automatic loading, 6 points part alignment, 30 points measurement on three faces as defined, data analysis for all alignment and inspection features, inspection report, special Not OK inspection report and head unloading.
- Detailed cycle time analysis:
- Alignment = 12x2 = 24 sec.
- Test Points = 0.75x60 = 45 sec.
- Tip Orientation = 2.5x7 = 18 sec.
- Face to Face pass = 3x3 = 09 sec.
- Load – Unload = 20x1 = 20 sec.
- Total WIZinspect cycle time = 116 sec. (2 heads)
- Total cycle time per head = 58 sec.
- - Based on 22 hours system up-time the total capacity will be 1360 heads per day.


